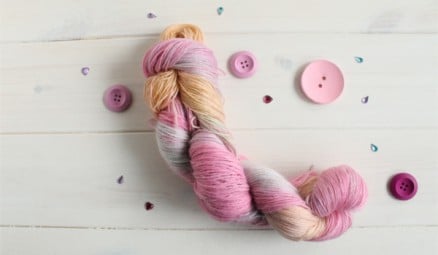
Have you ever wanted to know how to dye wool with food coloring? You're not alone! Our new range of undyed yarns are perfect for expressing your creativity with just a few ingredients that you probably already have in your kitchen.
Even though the world is full of gorgeous yarns, kettle-dyed, hand painted, and painstakingly designed. Independent yarn dyers agonize over their color choices, dye methods, and fiber content. Even though there's a plethora of yarn, no one knows exactly what colors are your favorites: and after all, dyeing your own yarn is just plain fun.
So, you want to learn how to dye wool with food coloring.
Don't feel intimidated: it's easier than it sounds. With a few ingredients, some undyed yarn, and a heap of creativity, you can be well on your way to dyeing yarn the exact way you think it should look. We've created a detailed photo tutorial, some helpful tips and tricks, and a short video if you want to see what we made today and how we did it. Let's get started!
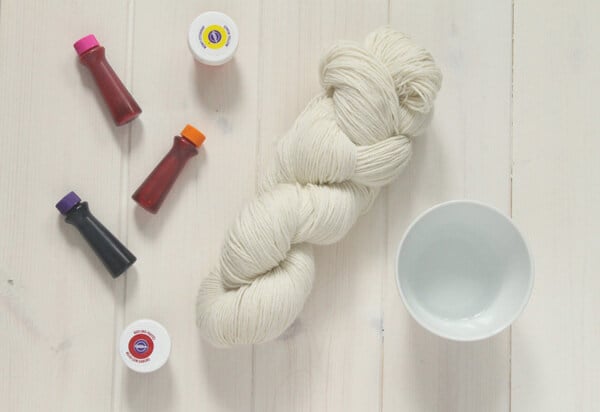
Materials

Plain vinegar (not apple cider or white wine)
Food coloring (drops or gels are both fine)
A large bowl or bucket
Undyed animal fiber yarn (have you seen our new selection?)
Gloves
Plastic table cloth or tarp
Clean, unused sponge
Step 1: soak the yarn

In your large bowl or bucket, fill it about 75% full with hot (not boiling!) water. Add about 100ml of vinegar to the bucket and give it a gentle swish. Submerge your yarn into the water and vinegar mixture, and allow to sit for at least 15 minutes. This prepares the proteins in the fiber to chemically bond with the pigments in the food coloring!
Helpful hint: don't swish the yarn around in the hot bath too much, or it can felt!
Step 2: prepare your dyes
While your yarn is soaking, prepare your dyes. You can use regular household mugs: everything you're using is food quality and food safe! Add a few drops of vinegar to the bottom of your cup or mug, and then fill 75% full with very hot water. Add your food coloring, and stir to dissolve.
Helpful hints: If you are using just one color, you can use a household pot instead of mugs or cups and proceed to step four. More drops of food coloring means deeper colors: note that the colors can dry much lighter than they look when wet!
Step 3: paint your yarn
Cut your sponge in half or in quarters, depending on the number of dyes being used. You'll want one section of sponge per color to avoid unintentional mixing!
Pull your yarn out of the water bath and wring out very well. Put your gloves on and get started! You can paint your yarn however you like, from an omber, to a self-striping, to a multi-tonal, to a crazy out there variegated shade.
Helpful hint: Make sure you flip over your yarn to make sure you are fully saturated with color - or you can leave some white showing for a cool effect!

Step 4: heat it up
Some find this part to be the scariest - the prospect of felting your yarn can be terrifying! If you have a steamer basket, you can use that to heat your hand-painted yarn for about 45 minutes on a medium heat. Braver souls can microwave their yarn - but only use it on 75% power and check it every 45 seconds to make sure you don't burn your yarn!
If you decided to only use one color this time around, take your yarn from the water bath and place in a pot filled with 75% warm water. Add some dye and simmer for 45 minutes to an hour.
Helpful tip: heat is what bonds the yarn to the color, so you can't skip this step!
Step 5: rinse
After your yarn has been heated, let cool to room temperature before rinsing so you don't accidentally felt it. Rinse in tepid water until the water runs clear. You may also choose to use a wool wash or a dab of mild shampoo to reduce the vinegar smell, and that's absolutely fine.

Check out our tutorial video below on our brand new YouTube channel! Make sure you subscribe so you don't miss any of the awesome tutorials we have planned for you.


