If you've ever finished a knitting project and found it doesn't quite lie flat or the stitches don’t look as even as you'd like, blocking is the answer.
Blocking is the finishing touch that brings out the best in your knitting, ensuring a professional-looking result. In this post, we’ll cover the importance of blocking, the materials needed, and step-by-step instructions for blocking different types of fibre and projects.
Why Block Your Knits?
Blocking is an essential step for knitters who want to achieve a polished, professional look. It helps to
- Even out stitches, making your work look uniform.
- Correct the shape and size of your project.
- Open up lacework and textured patterns.
- Flatten curled edges.
- Ensure your knitted items hold their shape after being worn or washed.
In short, blocking transforms your project from homemade to handmade with care.
Materials Needed for Blocking
To block your knits effectively, you'll need a few basic tools:
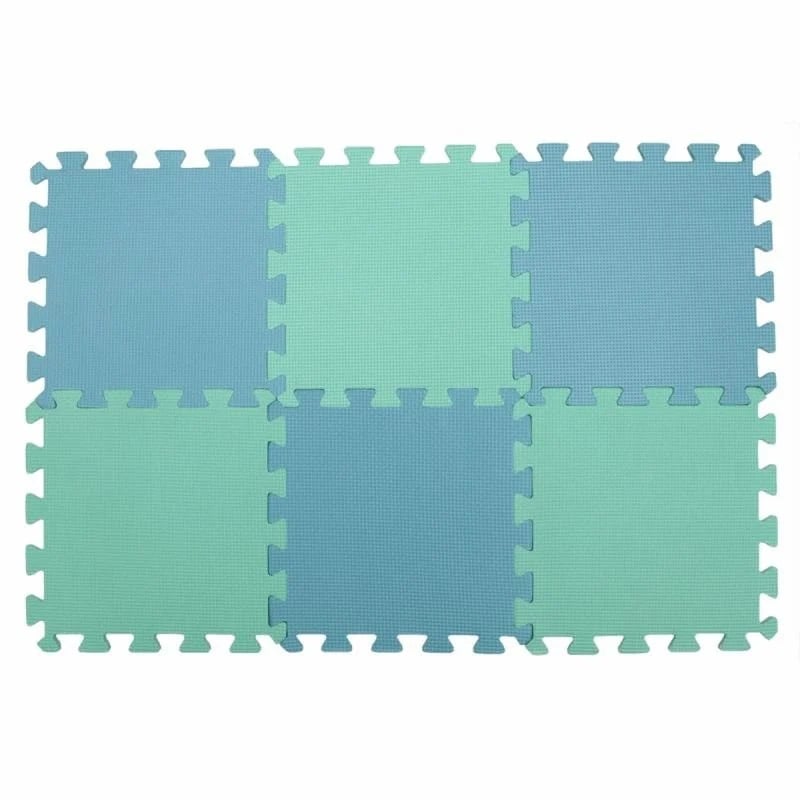
- Blocking mats These are foam mats that provide a surface to pin your project on. In a pinch, you can also use a clean towel.

- T-pins or blocking pins Pins are necessary for holding your work in place while it dries
- Measuring tape: This helps ensure your project reaches the correct dimensions as you block.
- Spray bottle or water basin: Depending on your blocking method, you’ll need water to moisten your knits.
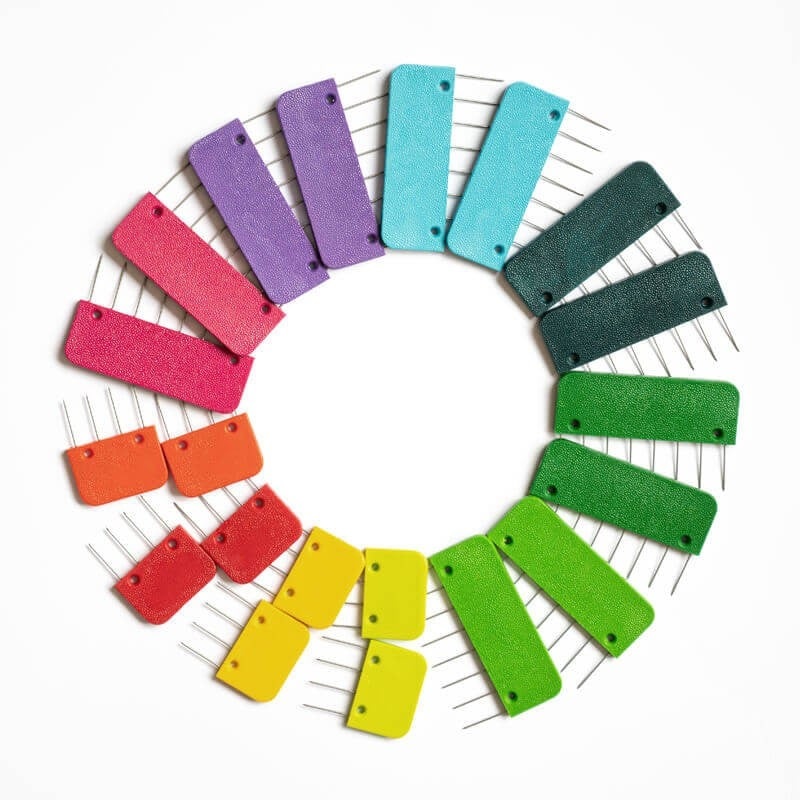
- Knit blockers (optional) These are sets of multiple pins on a bar, making it easier to pin straight edges.

Types of Blocking
There are two main methods for blocking your knits: wet blocking and steam blocking. The choice of method depends on the fibre you're working with.
Wet Blocking
Wet blocking is ideal for wool and other natural fibres. It’s a gentle method that allows the fabric to absorb moisture and stretch into its desired shape.
Step-by-Step Guide for Wet Blocking:
- Soak your knitted item in cool water with a small amount of wool wash or gentle detergent.
- Let it sit for 15-20 minutes so the fibres absorb the water.
- Gently squeeze out excess water without wringing the item. You can roll it in a towel to remove more water.
- Lay the item flat on your blocking mat and gently pull it to the desired shape and size.
- Pin your knitting in place, paying attention to measurements and symmetry.
- Let your project dry completely, which could take up to 24 hours.
Watch the video here
Steam Blocking
Steam blocking is best for synthetic fibres or delicate projects that might lose their texture if fully submerged in water. It works by relaxing the fibres with steam.
Step-by-Step Guide for Steam Blocking:
- Pin your project in place on your blocking mat.
- Using a steam iron or garment steamer, hold the iron a few inches above your project (do not touch the fabric with the iron).
- Gently steam the item, ensuring it gets damp but not soaking wet.
- Allow the item to dry completely in place.
How to Block Different Types of Fibres
Wool and wool blends: Wool responds beautifully to wet blocking, which allows it to relax and stretch into place.
Cotton and linen: These fibres may benefit from steam blocking, especially to prevent excessive stretching.
Blocking is an often-overlooked but critical step in knitting that can make the difference between a good project and a great one. Whether you're working on a cosy sweater or an intricate lace shawl, blocking will give your projects the perfect finish. So next time you cast off (bind off) a new piece, take the time to block it — you’ll be amazed by the results!


